Unicessingで遊ぼう! ProcessingのコードをUnityに移植するの巻
前回下記の記事で予告した通り、この記事では、UnityでProcessingみたいに手軽に図形を描いたりできるアセットUnicessingを使って、Processingのコードを動かすコツをお伝えしようと思います!
移植したサンプルプログラムの動作例はこちら。
#Processing 標準サンプルをいくつか#Unicessing に移植してみた #Unity #Asset Ver 0.15審査待ちです。※このサンプルは同梱してないので別途ダウンロードできるようにする予定 https://t.co/uiiZOCzDQm
— n_ryota (@n_ryota) 2016年12月12日
Processingと同じ座標系に
Unicessingは、Unityに馴染ませるため、Unity座標系をそのまま使うのを基本にしています。
ただProcessingのコードを移植して参考にしたいときなどには、Processingの座標系(Y軸で上がマイナス、下がプラス、Z軸で奥がマイナス、手前がプラス)を使えた方が便利ですよね!
なので Ver.0.14 から size(640, 480, P2D, 0.01f) などと書くことで、Processingの座標系モード(通称P5モード)になるという、実験的機能を入れてみました。
width、heightを参照すると、size()で指定した640、480の値が返ってきます。GameObjectの中心がwidth、heightの画面の中央になるようになるようにしました。また、Unityの空間では1.0fが通常1mの大きさのため、そのまま使うと大きすぎなので、実際の表示物には0.01fのスケールを掛けるようにしています。
P5モードでは、テクスチャの方向についてもV方向を逆転するようにして、正しく描画できるようにしました。rect()の基準点も左上になります(デフォルトのユニティモード(U3D)では左下が基準点)。
あと Ver.0.15 で ellipse() の大きさバグなどもいくつか修正しました。※Ver.0.15については記事の最後に案内があります。
ちなみにsize()でP2D、P3Dどちらを指定しても3D座標が使えますが、P2Dを使うとnoLights()を自動設定してライティングしないモードでスタートします。
さて前置きが長くなりました。実際にいくつかコードを移植してみましょう! 最後に移植済みサンプルをまとめたunitypackageもあります(要Unicessing)。
Tree
Processing標準サンプルのTopics/Fractals and L-Systems/Treeを移植します。

移植元のTree.pdeのコードはこちら。
   float theta;

    void setup() {
      size(640, 360);
    }

    void draw() {
      background(0);
      frameRate(30);
      stroke(255);
      // Let's pick an angle 0 to 90 degrees based on the mouse position
      float a = (mouseX / (float) width) * 90f;
      // Convert it to radians
      theta = radians(a);
      // Start the tree from the bottom of the screen
      translate(width/2,height);
      // Draw a line 120 pixels
      line(0,0,0,-120);
      // Move to the end of that line
      translate(0,-120);
      // Start the recursive branching!
      branch(120);

    }

    void branch(float h) {
      // Each branch will be 2/3rds the size of the previous one
      h *= 0.66;

      // All recursive functions must have an exit condition!!!!
      // Here, ours is when the length of the branch is 2 pixels or less
      if (h > 2) {
        pushMatrix();    // Save the current state of transformation (i.e. where are we now)
        rotate(theta);   // Rotate by theta
        line(0, 0, 0, -h);  // Draw the branch
        translate(0, -h); // Move to the end of the branch
        branch(h);       // Ok, now call myself to draw two new branches!!
        popMatrix();     // Whenever we get back here, we "pop" in order to restore the previous matrix state

        // Repeat the same thing, only branch off to the "left" this time!
        pushMatrix();
        rotate(-theta);
        line(0, 0, 0, -h);
        translate(0, -h);
        branch(h);
        popMatrix();
      }
    }
シーンを作り、Unicessingのスクリプトを貼り付けるGameObjectを置きます。CameraはMainCameraのTagをつけ、UnicessingのGameObjectが映るようにZを少し手前の位置にして置きます。
UnicessingのP5座標系モードでのスクリプトの雛形はこんな感じ。GameObjectに貼り付けておきましょう。
   using UnityEngine;
    using Unicessing;

    public class UnicessingP5_Tree: UGraphics
    {
        protected override void Setup()
        {
            // P2D or P3D : Processing Coordinate System x=1, y=-1, z=-1
            size(640, 360, P2D, 0.01f);
        }

        protected override void Draw()
        {
        }
    }
Tree.pdeからUnicessingP5_tree.csへの移植はわりと簡単です。
.pdeのsetup()の中身を.csのSetup()に、draw()の中身をDraw()にコピペしましょう。
float thetaはクラスメンバにすればOKです。あとは0.1というdouble値がエラーになるので0.1fにしておきます。
移植完了したUnicessingP5_tree.csのコードはこちらです。
   using UnityEngine;
    using Unicessing;

    public class UnicessingP5_Tree: UGraphics
    {
        float theta;

        protected override void Setup()
        {
            // P2D or P3D : Processing Coordinate System x=1, y=-1, z=-1
            size(640, 360, P2D, 0.01f);
        }

        protected override void Draw()
        {
            background(0);
            frameRate(30);
            stroke(255);
            // Let's pick an angle 0 to 90 degrees based on the mouse position
            float a = (mouseX / (float)width) * 90f;
            // Convert it to radians
            theta = radians(a);
            // Start the tree from the bottom of the screen
            translate(width / 2, height);
            // Draw a line 120 pixels
            line(0, 0, 0, -120);
            // Move to the end of that line
            translate(0, -120);
            // Start the recursive branching!
            branch(120);
        }

        void branch(float h)
        {
            // Each branch will be 2/3rds the size of the previous one
            h *= 0.66f;

            // All recursive functions must have an exit condition!!!!
            // Here, ours is when the length of the branch is 2 pixels or less
            if (h > 2)
            {
                pushMatrix();    // Save the current state of transformation (i.e. where are we now)
                rotate(theta);   // Rotate by theta
                line(0, 0, 0, -h);  // Draw the branch
                translate(0, -h); // Move to the end of the branch
                branch(h);       // Ok, now call myself to draw two new branches!!
                popMatrix();     // Whenever we get back here, we "pop" in order to restore the previous matrix state

                // Repeat the same thing, only branch off to the "left" this time!
                pushMatrix();
                rotate(-theta);
                line(0, 0, 0, -h);
                translate(0, -h);
                branch(h);
                popMatrix();
            }
        }
    }
ほぼそのままなのがわかりますね。
Arctangent
Processing標準サンプルのBasics/Math/Arctangentを移植します。

ここからは実際のコードは省略して、主な変更点だけピックアップして説明します。
   angle = atan2(my - y, mx - x);
        ↓
    angle = Mathf.Atan2(my - y, mx - x);
UGraphics内だったらatan2をそのまま使えるのですが、Eyeクラスは別クラスなので、Mathfのものを直接見るようにしました。
   void display()
        ↓
    public void display(UGraphics g)
    {
          g.pushMatrix();
          ...
別クラスからUGraphicsのメンバを使うために引数で渡すようにしました。
またこのEyeクラスの関数は外部から使うため、コンストラクタEye()とupdate()、display()はすべてpublicにします。
これで移植完了です。
NoiseWave
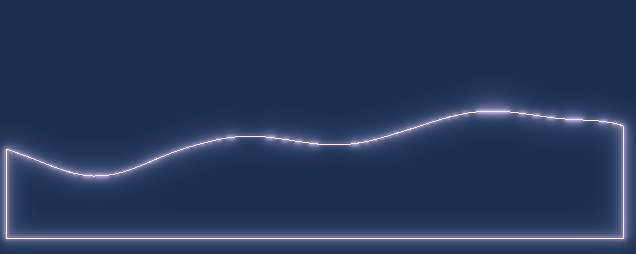
Processing標準サンプルのBasics/Math/NoiseWaveを移植します。

   float yoff = 0.0;        // 2nd dimension of perlin noise
        ↓
    float yoff = 0.0f;        // 2nd dimension of perlin noise
double値の定数はfをつけてfloat値の定数に変えます。
   beginShape()
        ↓
    beginShape(LINE_STRIP);
Unicessingにはデフォルト引数を設定していなかったのでLINE_STRIPを設定します(デフォルト値設定しようかな…)。
   endShape(CLOSE)
        ↓
    endShape(UShape.CloseType.CLOSE);
enum値の指定が必要だったので書き換えます(UConstantsに定数設定しようかな…)。
これで移植完了です。
Pointillism
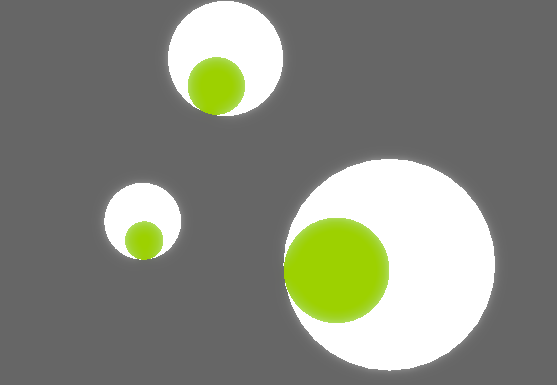
Processing標準サンプルのBasics/Image/Pointillismを移植します。

まず、PImageはUImageに書き換えます。
UImage img;
次に、loadImage()のパスを変更します。
   img = loadImage("moonwalk.jpg");
        ↓
    img = loadImage("Unicessing/Textures/ReadWriteEnabledTex");
このとき参照するテクスチャは読み書き可能なように、Unity上でTexture TypeをAdvancedにして、ReadWrite EnabledのOnの状態にしておいてください。
CameraはDepth Onlyでクリアするようにして、前の画面を残すようにしておいてください。
また、background()で色指定するとCameraがSolid Colorでの塗りつぶしになるためコメントアウトします。
//background(255);
Processingにはint()やfloat()といった関数があってキャストできるのですが、Unicessingにはないので、通常のキャストに書き換えます。
   int x = int(random(img.width));
        ↓
    int x = (int)(random(img.width));
Processingにはcolorという独自の型(実際はint値になる)があります。UnicessingではUnity標準のColorを使うので、Colorに置き換えます。
Color pix = img.get(x, img.height - y);
※UnicessingではColorの他に、PVectorではなくVector3を使うなど、Unity標準クラスに置き換えて使うものがあります。
fill()でColor値引数にとってアルファ値だけ別に指定する機能は未実装だったので、次のように書き換えます。
   fill(pix, 128);
        ↓
    pix.a = 0.5f;
    fill(pix);
これで移植完了です。
でも描画に時間がかかって待つのが面倒なので、次のようにfor文でループをまわして1フレームに複数個描くように改造します。
   int num = (int)constrain((width - mouseX) * 0.05f, 1, 100);
    if (isVR) { background(0); num *= 100; randomSeed(0); }

    for (int i = 0; i < num; i++)
    {
      ...
    }
isVRでVRモードのときには、背景を真っ暗にして前フレームの情報を残さないようにしています。そのかわり100倍多く丸を描きます。
RotatingArcs
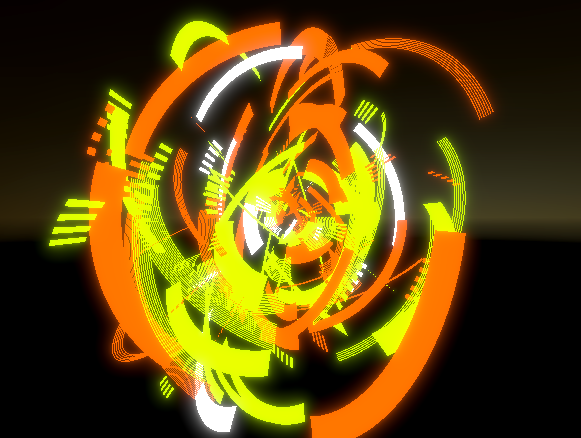
Processing標準サンプルのDemos/Graphics/RotatingArcsを移植します。

ProcessingではCっぽい配列の書き方もできるのですが、C#にあわせて書き換えます。
   float sinLUT[];
        ↓
    float[] sinLUT;
定数をconstにします。
   float SINCOS_PRECISION = 1.0f;
        ↓
    const float SINCOS_PRECISION = 1.0f;
前述のようにProcessingではcolorという型があって実質intなのですが、RotatingArcsではこのことを利用してトリッキーな変数の使い方をしています。styleという配列を2倍確保して交互に色情報、形状情報を入れているのです。型も違うし、ややこしいのでこれを分割します。
   int style[];
        ↓
    int[] types;
    Color[] colors;
配列を確保するところも同様に分けて確保します。
   style = new int[2*num]; // color, render style
        ↓
    colors = new Color[num]; // color
    types = new int[num]; // render style
以後のループ内の処理なども同様にstyle[i2]してる箇所はcolors[i]に、style[i2+1]してる箇所はtypes[i]に置き換えてください。
キャストは次のように通常のキャストにします。
   int((360.0 / SINCOS_PRECISION));
        ↓
     (int)((360.0 / SINCOS_PRECISION));
Processingのbooleanはboolに置き換えます。
   boolean dosave = false;
        ↓
    bool dosave = false;
sin()、cos()でdouble値を使っているのを普通のfloatのsin()、cos()に置き換えます。
   sinLUT[i]= (float)Math.sin(i*DEG_TO_RAD*SINCOS_PRECISION);
    cosLUT[i]= (float)Math.cos(i*DEG_TO_RAD*SINCOS_PRECISION);
        ↓
    sinLUT[i] = sin(i * DEG_TO_RAD * SINCOS_PRECISION);
    cosLUT[i] = cos(i * DEG_TO_RAD * SINCOS_PRECISION);
strokeWeight(1)は未サポートなのでコメントアウトします。
//strokeWeight(1);
colorBlended()がintの戻り値なのはColorに直します。また、color()のメンバがintで受け付けるようになっているのでfloatをintにキャストします。※Ver.0.16からはHSB色空間にも対応してfloatのままでいけるようにする予定。
    Color colorBlended(float fract, float r, float g, float b, float r2, float g2, float b2, float a)
    {
        r2 = (r2 - r);
        g2 = (g2 - g);
        b2 = (b2 - b);
        return color((int)(r + r2 * fract), (int)(g + g2 * fract), (int)(b + b2 * fract), (int)a);
    }
Unicessingにはデフォルト引数を設定していなかったのでLINE_STRIPを設定します。
   beginShape()
        ↓
    beginShape(LINE_STRIP);
これで移植完了です。
しかし、毎フレームMeshをbeginShape()、endShape()で作るのは重いので、あらかじめshape = new UShape()してshape.beginShape()~endShape()で事前作成したMeshをdraw(shape)することで高速に動かす描画も入れておきました。こちらはunitypackageでご確認ください。
Processingコードの移植サンプル追加パッケージ
下記からProcessingコードの移植サンプル追加パッケージをダウンロードできます。
動作にはUnicessing本体とそれに関連するPostEffectが必要ですので、前回の記事を参考に事前にUnicessing環境を準備しておき、そこへ上記unitypackageをインポートしてみてください。
Unicessing本体はAsset Storeで販売中です。
Unity Asset Store で Unicessing を見る
今回のサンプル実行にはVer. 0.15以上が必要です。
Advent Calendar
そして、この記事はProcessing Advent Calendar 2016の12/15の記事でもあります。毎年面白い投稿があって完走してます。でも今年は場所も移って常連さんの参加が少なかったのです。が! おかげさまで、心強い助っ人が何名も現れました! ありがたや……でも、まだ空きはあるので軽い気持ちで参戦していただけると嬉しいです。
おまけ
#Unicessing Ver.0.16が #Asset Storeで公開されました。HSBカラーが使えるようになり、簡易リファレンスも付きました。あと前にkeijiroさんのスケッチ移植したコードの例をここにアップ https://t.co/LhAafaFCnO #unity https://t.co/oB3O8CSEvp
— n_ryota (@n_ryota) 2016年12月29日
#Unicessing Ver. 0.16で @_kzr さんのProcessingスケッチ https://t.co/2JJZN5u9eZ を動かしてみました。100行以下のシンプルなコードでこんな表現ができるのかと、とても参考になります #Unity #Processing pic.twitter.com/h4uf0EjZld
— n_ryota (@n_ryota) 2016年12月14日